How to use Voucher [All Features]
Overview
This guide provides a quick step-by-step process for creating and using all features of Voucher.
Manual Voucher Creation
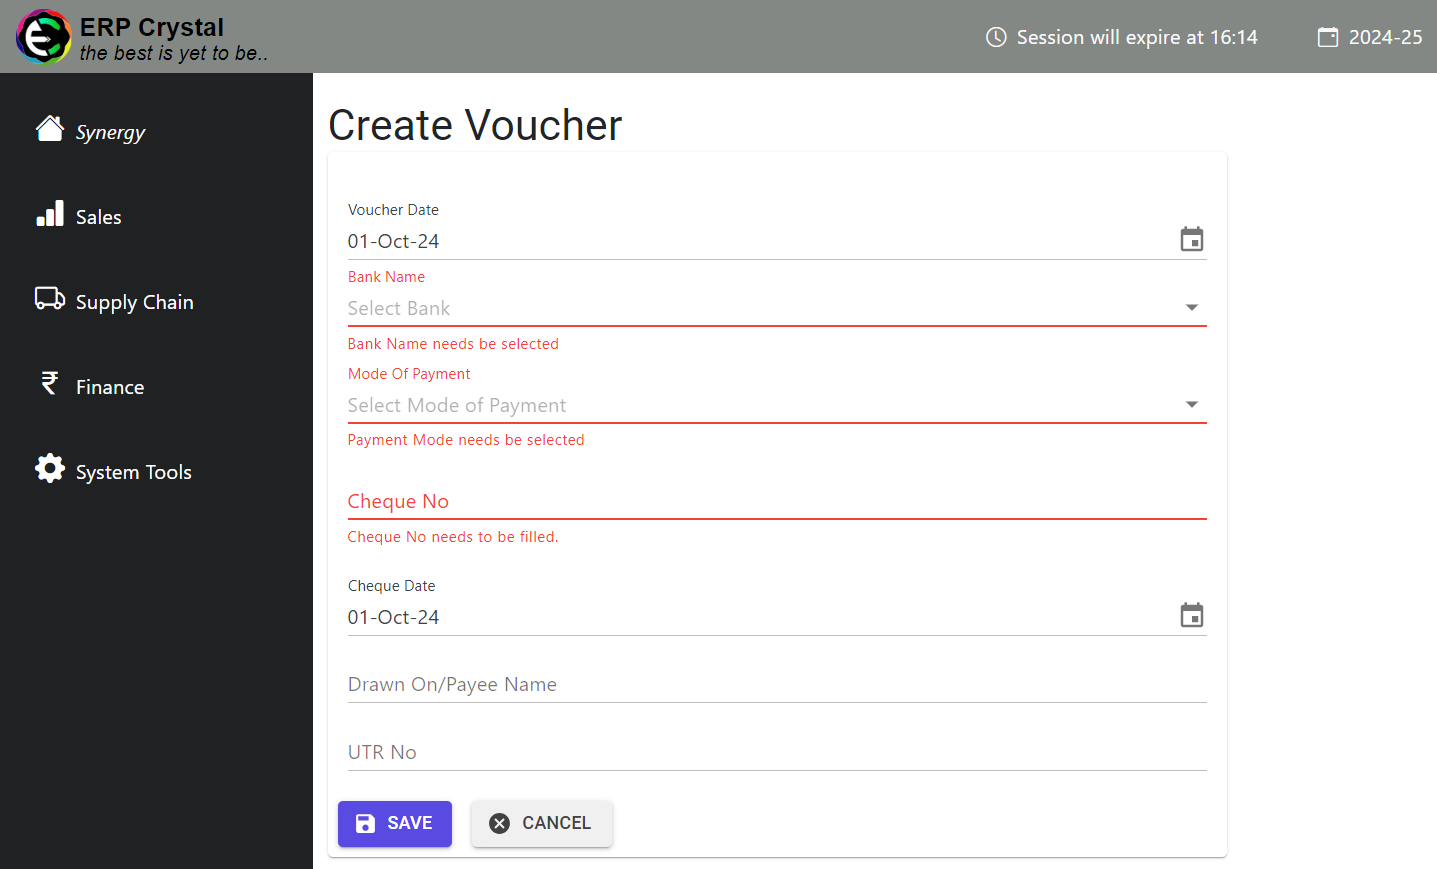
Step 1: Navigate to the Finance Module
- Click on Finance → Voucher/Receipt → Create New to start a new voucher.
- Fill in the necessary details and click Save.
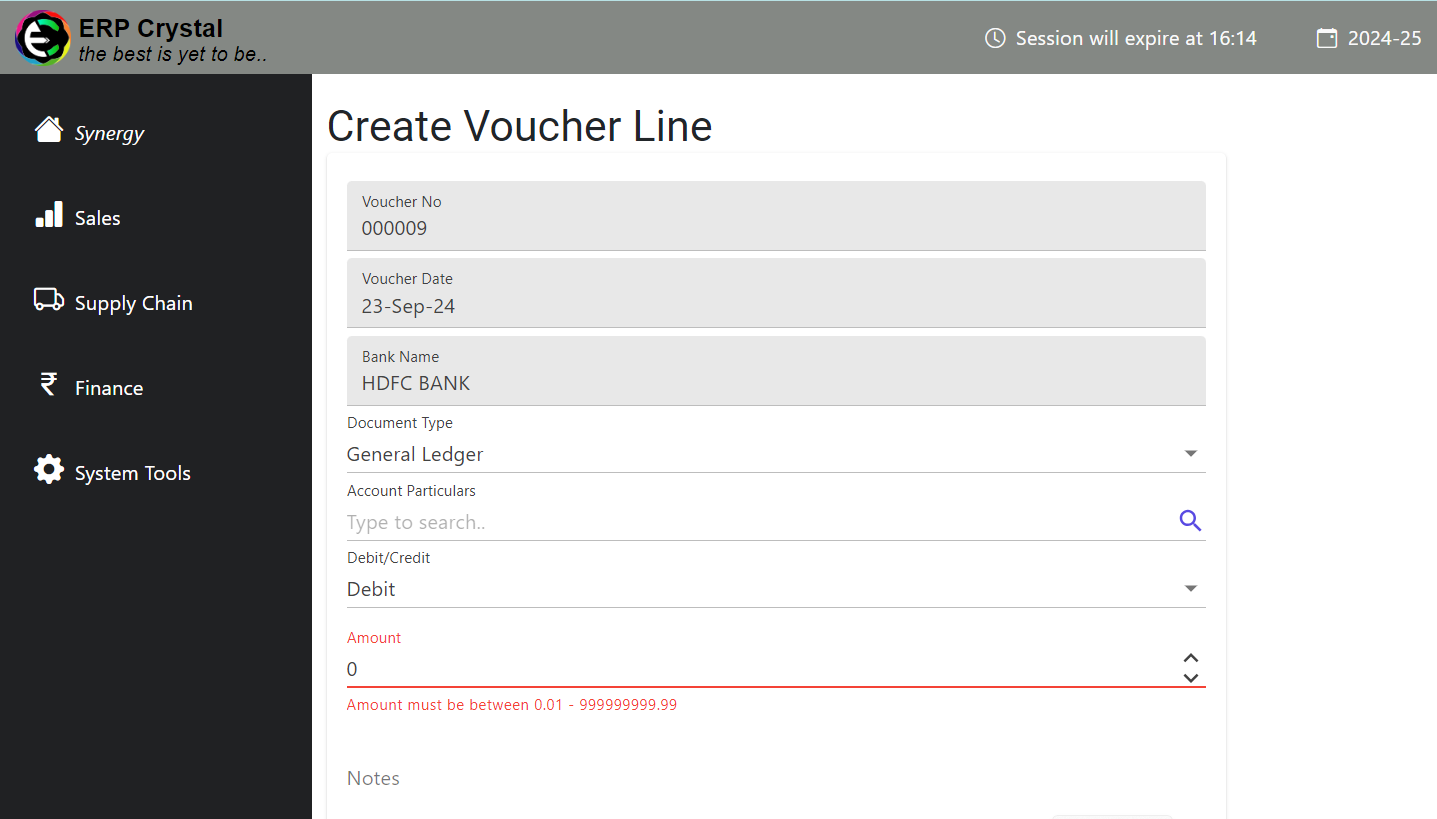
Step 2: Create Line Level
After saving the main voucher, you will be redirected to the line level, where you can add multiple lines. Fill in the details and click Save.
Select the appropriate document type for your voucher:
- PB for Bill
- SI for Sales Invoice
- OA for On Account Received
- AD for Advance Payments
- GL for General Ledger
Note: You may not add different vendor accounts in a single payment voucher.
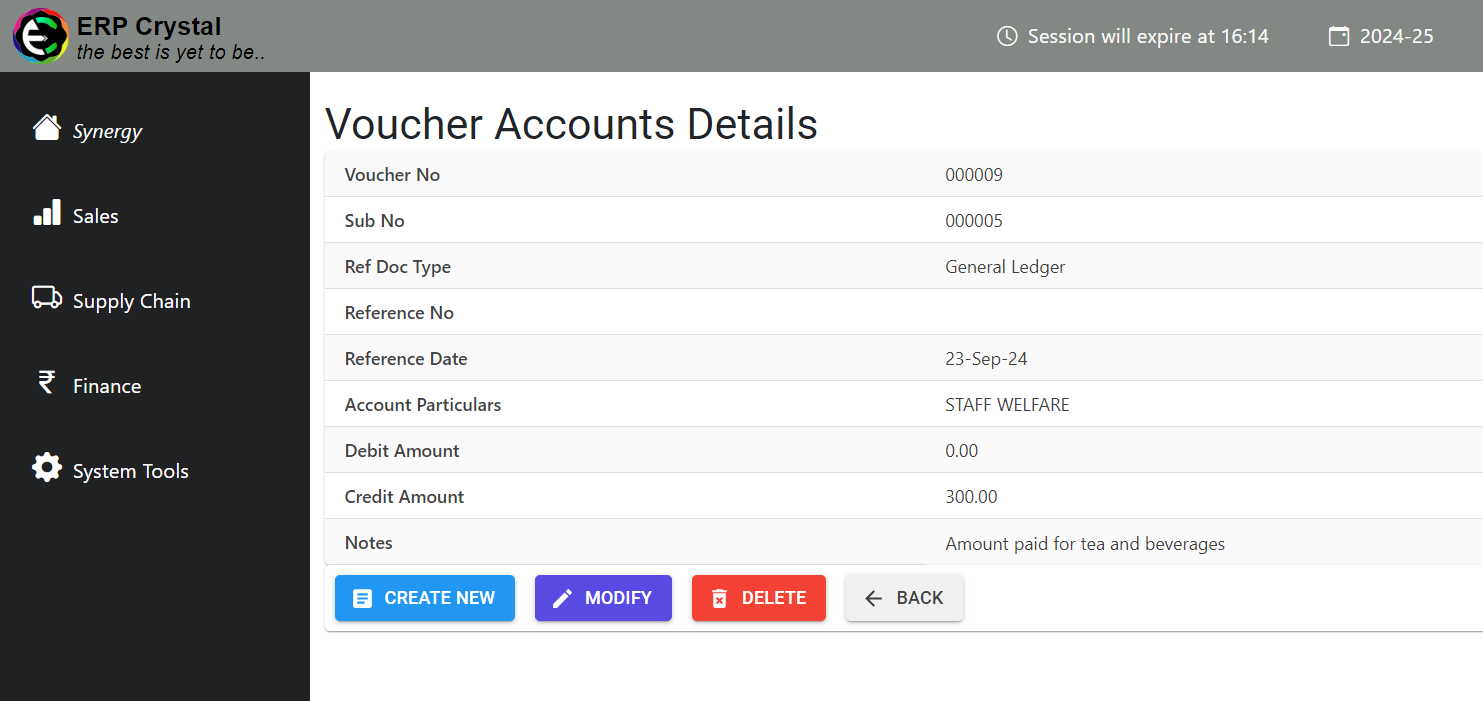
Step 3: Additional Features of Line Level
After saving the details, you will be redirected to the details page where you can access additional features.
Update Reco Date
Step 1 : Select Voucher
- From the Voucher List select the voucher you want to duplicate and Click Other Operations

Step 2 : Select Update Reco Date
- Select Update Reco Date it will redirect to new page, select the Reco Date and click Save.


Import Feature
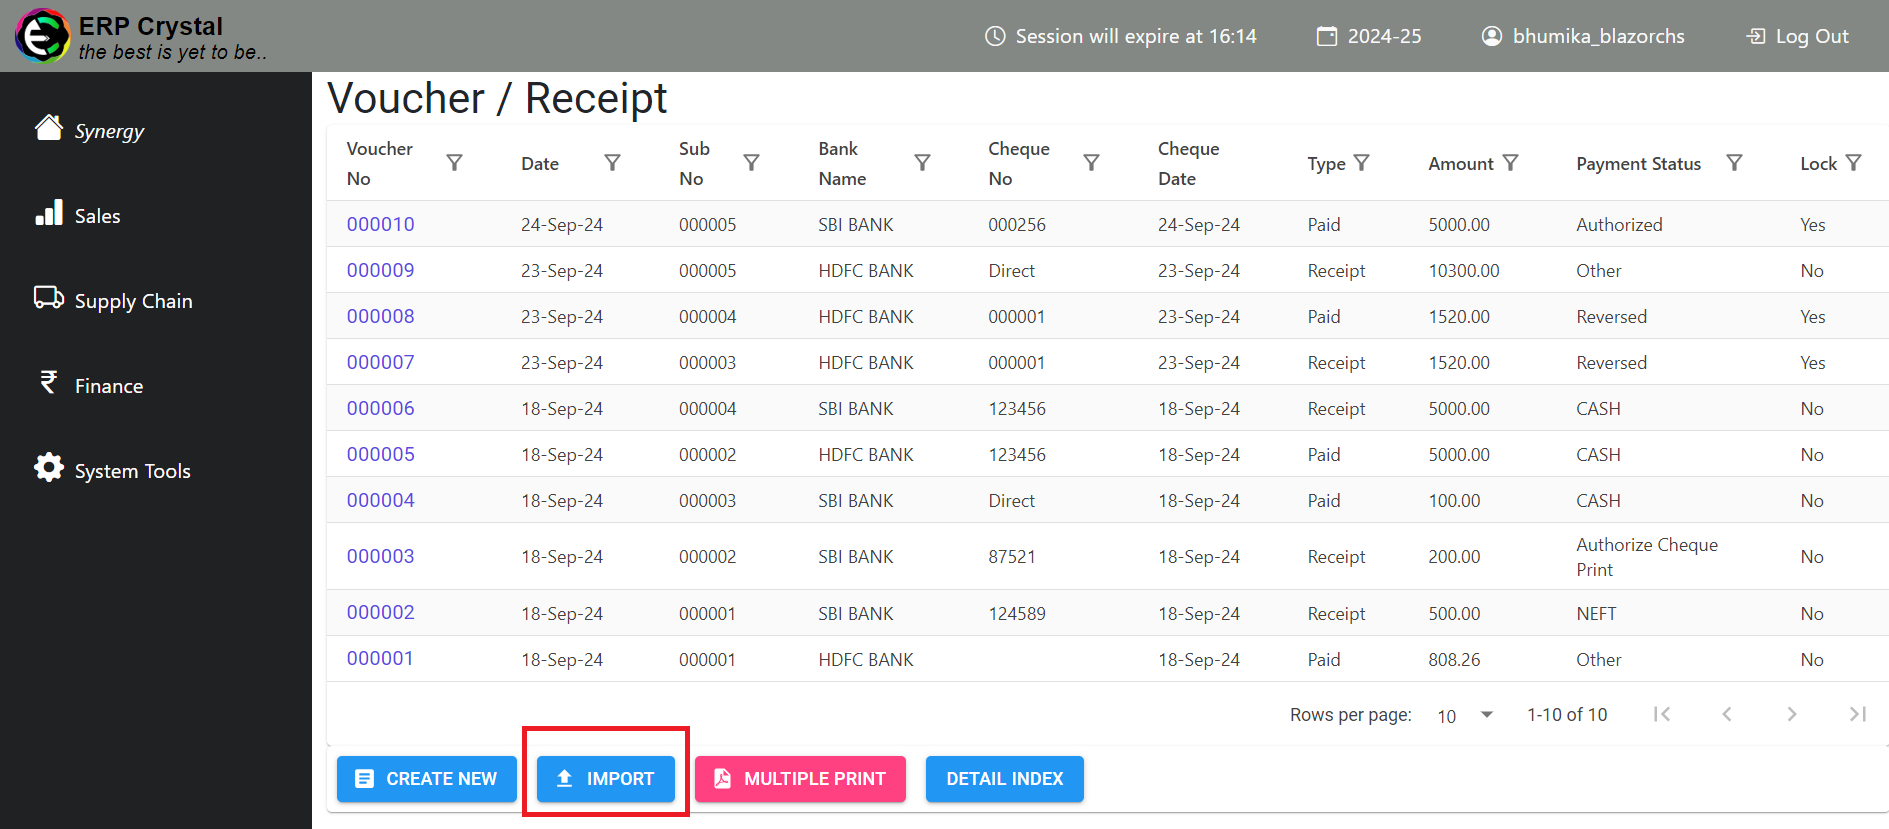
Step 1: Navigate to the Finance Module
- Click on Finance —> Voucher/Receipt—>Import to create multiple Vouchers
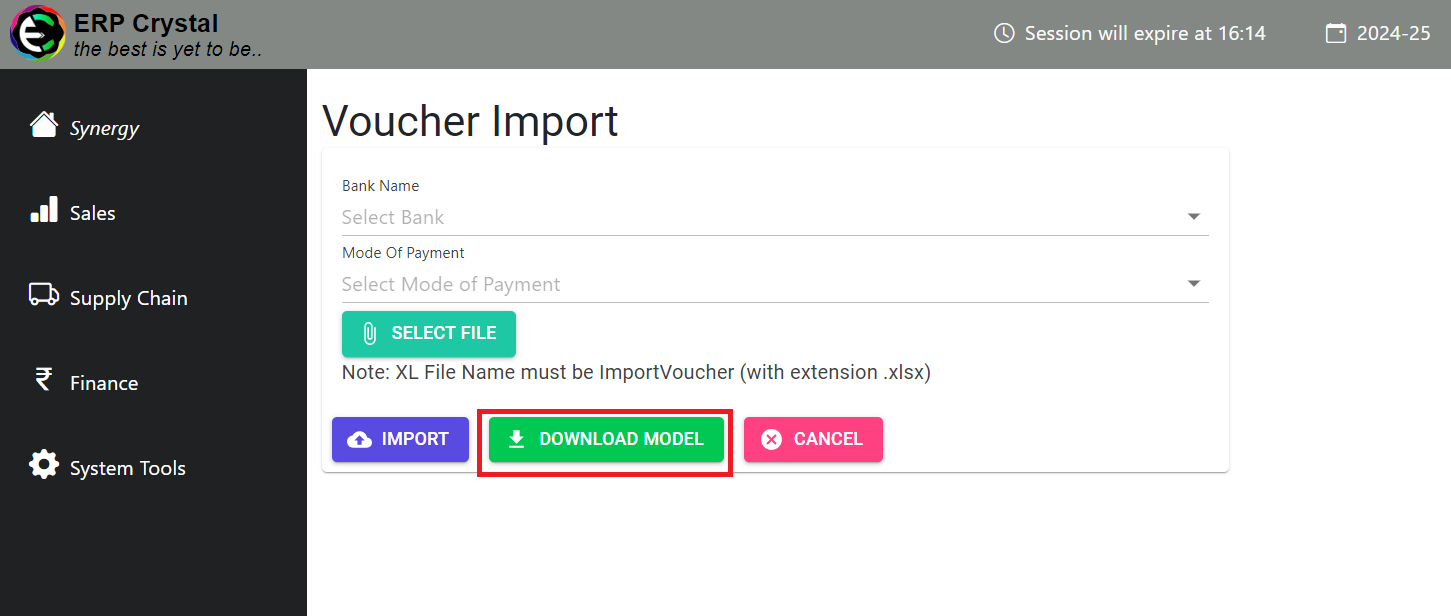
Step 2: Download Model and Fill in Details
- Download the model and fill in the details of Voucher as per the Instruction Sheet and Save it by Name Import Voucher

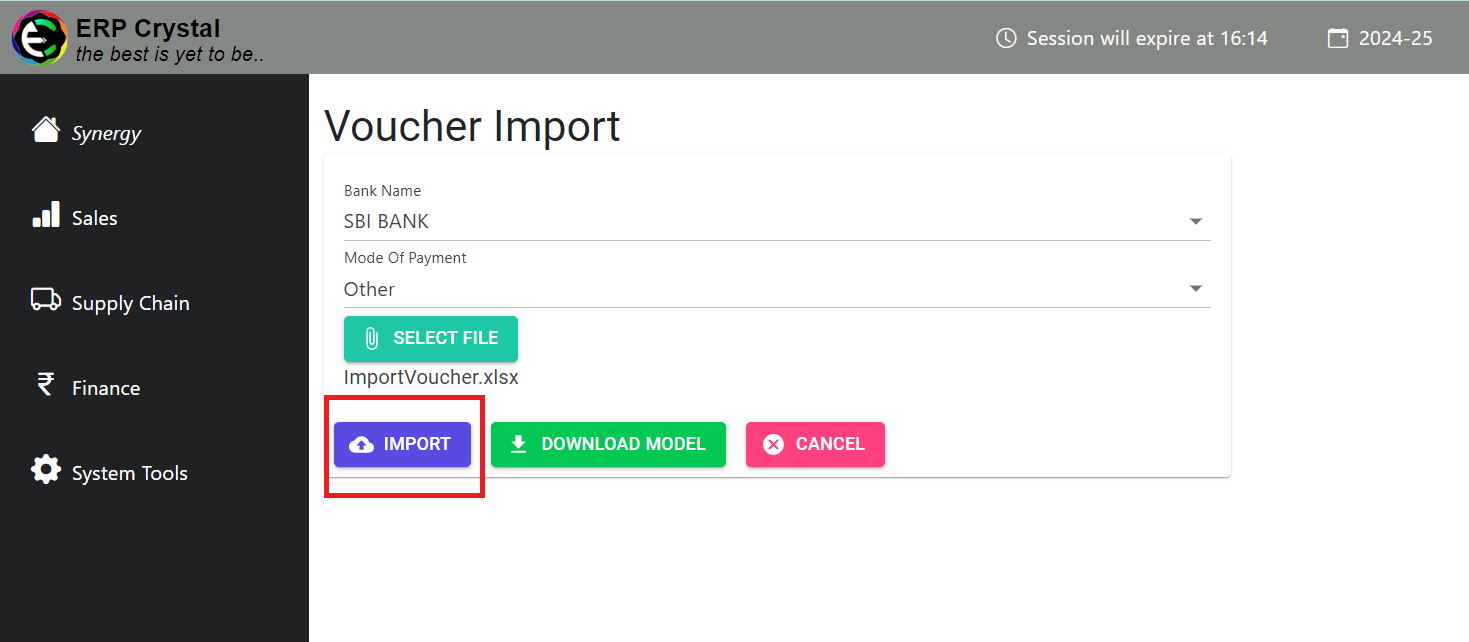
Step 3: Upload the Sheet
- Select Bank, Mode Of Payment, Upload the saved file in the system and Click Import to create multiple Vouchers
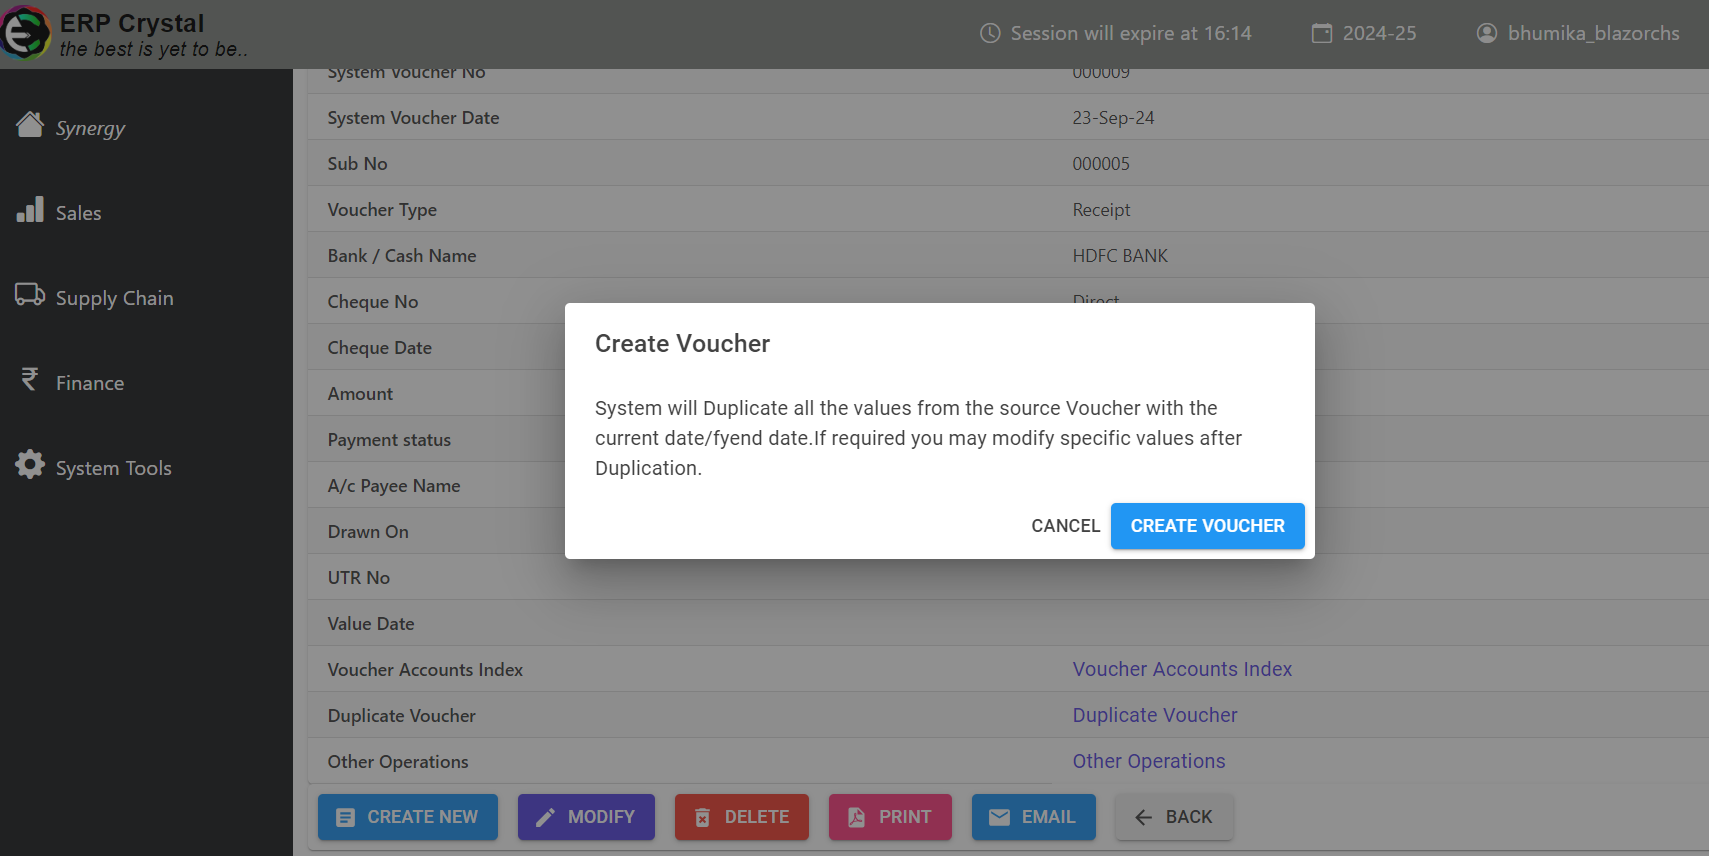
Duplicate Voucher
Step 1 : Select Voucher
- From the Voucher List select the voucher you want to duplicate and Click Duplicate
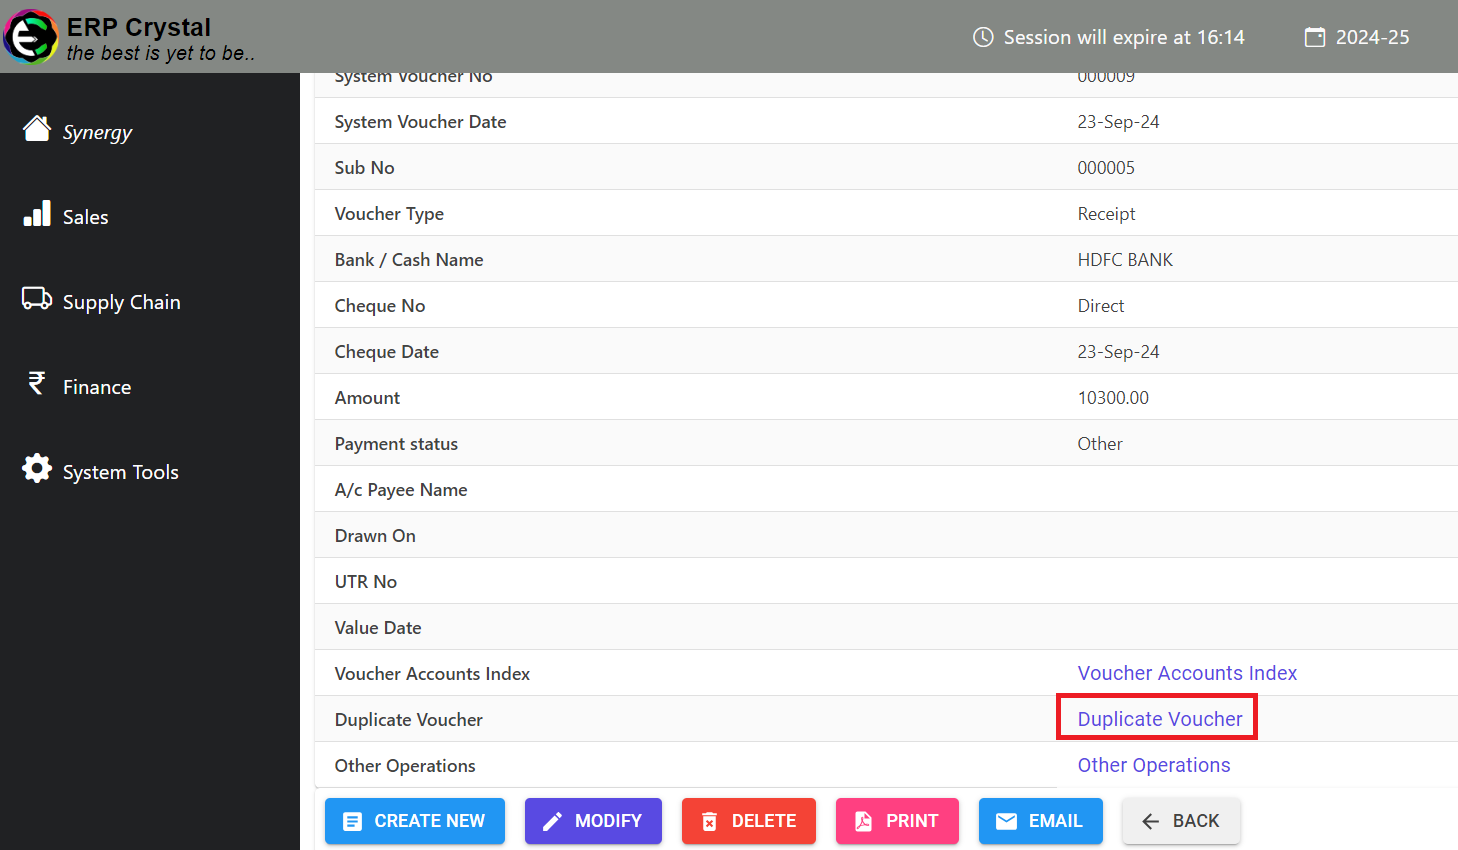
Step 2 : Create Voucher
- Select Create Voucher and it will Duplicate the selected Voucher