Vendor Master
Vendor Master - User Guide
ℹ️
⚡ Quick Start: Onboarding a Vendor
- Access: Go to System Tools > Vendor Master.
- Create: Click Create New and enter the Vendor Name, Category (e.g., Lift Maintenance, Security), and Contact Info.
- Financials: Enter the PAN and GSTIN for tax-compliant billing.
- Link: The vendor is now available for recording Purchase Bills and processing Payments.
🗺️ Procurement Workflow
graph TD
    Vendor[Vendor Master] --> Bill[Purchase Bill]
    Bill --> Payable[Payable Report]
    Payable --> Voucher[Payment Voucher]
    Voucher --> Bank[Bank Reconciliation]

    style Vendor fill:#f9f,stroke:#333,stroke-width:2px
1. Introduction 📝
The Vendor Master stores crucial information about anyone the society pays for services or goods. This includes AMC providers (Lift, Water Tank, Garden), utilities, and one-time contractors.
2. Usage in Transactions 🔄
A vendor record is the starting point for all outgoing society funds:
- 📄 Purchase Bill / Expense: When the society receives a bill (e.g., for Repairs), you must select a Vendor to record the expense. The system pulls the vendor’s GSTIN and PAN automatically.
- 🧾 Payment Voucher: Used to settle outstanding bills. The system tracks the vendor’s total balance and pending invoices.
- 📁 Journal Voucher: Used for year-end adjustments or provisioning (recording an expense today that will be paid later).
- 📝 Opening Balances: If a society is migrating to ERP Crystal, the
Opg Osmodule allows recording existing debt to vendors.
3. Related Reports 📊
Vendor data is aggregated into several financial reports:
- 🏛️ Payable Report / Aging: Shows exactly how much the society owes to different vendors and for how long.
- 📋 Purchase Analysis Report: A breakdown of expenses categorized by vendor type (e.g., how much was spent on “Security” vs. “Plumbing” across multiple vendors).
- 📉 TDS / GST Reconciliation: Lists vendor PANs and GSTINs to help the society file its tax returns accurately.
- 🏦 Cheque / NEFT Log: Tracks payments sent to vendors, including reference numbers and dates.
4. Key Fields Highlights 🔍
- GSTIN & PAN: Essential for formal billing. The system uses these to calculate GST input credits (if applicable) and TDS deductions.
- Vendor Category: Helps in grouping costs (e.g., “Electricity”, “Repair”, “Security”).
- Opening Balance: Initial debt recorded during system setup.
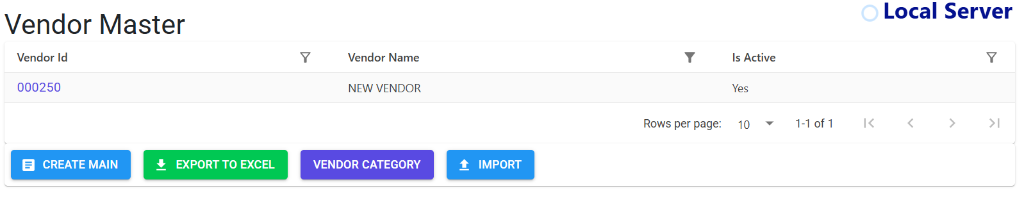
5. Interface Walkthrough 🔄
Browse Vendor Master
The Vendor Master index provides a bird’s-eye view of all service providers.
- Quick Lookup: Identify vendors by their unique ID and current active status.
- Category Management: Click Vendor Category to define broad groupings like “AMC” or “Utilities”.
- Data Migration: Use Import to bring in vendor lists from legacy systems or Export to Excel for external verification.
- Navigation: Easily navigate through your database using the pagination bar.
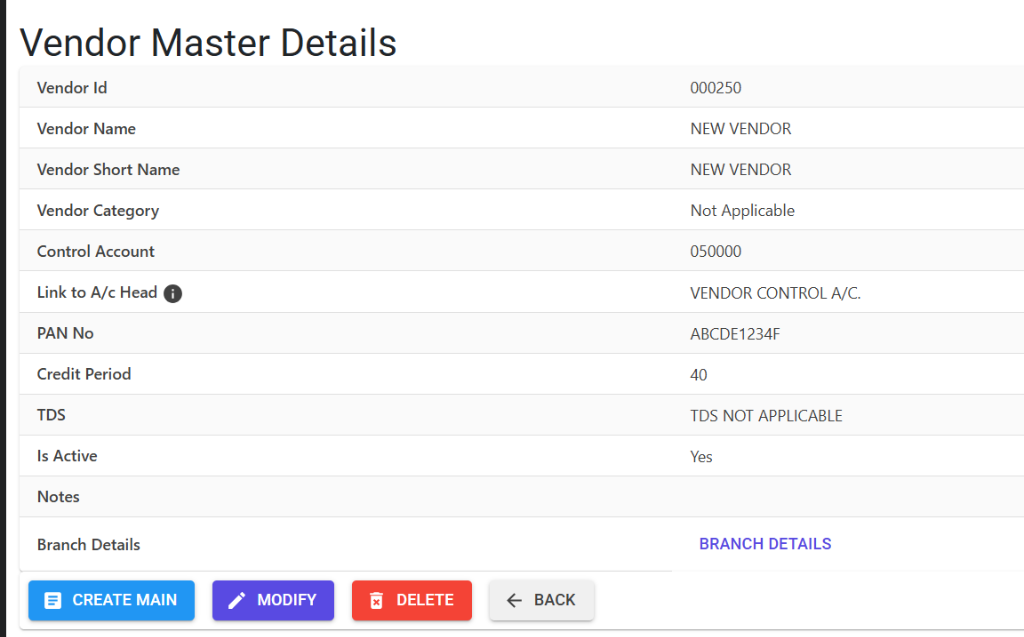
View Vendor Details
Checking a vendor provides a comprehensive profile of their financial relationship with the society.
- Tax Compliance: Review PAN and TDS settings to ensure correct deduction during payment.
- Credit Terms: Monitor the Credit Period to manage payment deadlines effectively.
- Account Linking: Verify the A/c Head linkage (typically Vendor Control A/c) for accurate ledger posting.
- Operational Control: Use Modify to update contact info or Delete if the entry was made in error.
6. Best Practices / Tips 💡
ℹ️
- Verify PAN: Always enter a valid PAN for vendors to avoid higher TDS deduction rates.
- Bank Details: Store the vendor’s Bank Name and Account Number in the description or specific fields to make NEFT/IMPS transfers faster.
- Category Consistency: Use standardized categories to ensure your “Purchase Analysis” reports are meaningful.
- In-Active Status: If you stop working with a vendor, mark them as “In-Active” instead of deleting them to preserve historical audit data.